This tutorial is about the DropDownList control in ASP.Net. DropDownList used for many purpose. You have different Items in the DropDownList and selects the one item when you require. Like in the registration form on many sites use the DropDownList for the gender, country, language etc selection.
Now in this Post you can learn how the Items can add into the DropDownList control. I create the DropDownList for country.
Step 1:
Open the page ( page.aspx ) and add the DropDownList from the Toolbox to the page.
Like this:
 |
| DropDownList Control |
Step 2:
Now select the DropdownList in the design view and click the small button that appear. The new tab will open like this:
 |
| DropDownList Menu |
Step 3:
Select the "Edit Items..." link on the DropDownList Tasks a new window will open as bellow:
 |
| List Item Collection Editor |
Step 4:
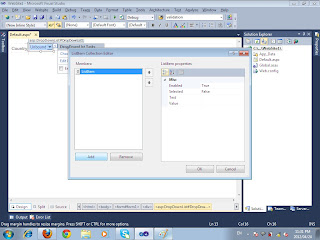
From the "listItem Collection Editor" window click on the Add button. When you click on Add button a ListItem add in the left Members box.
 |
| List Item Collection Editor |
Step 5:
Select the ListItem from the left Members box, ListItem Properties shows in the right box. Now in the ListItem Properties box set the properties of list item (text, value, selected etc..).
 |
| List Item Properties |
Step 6:
When you add all items then click Ok button. all the Items are show in the the DropDownList.
Now select the DropdownList in the design view and click the small button that appear. The new tab will open. checked the AutoPostBack checkbox.
 |
| Enable Auto Post Back |
Now run the project and check all the Items are show.
 |
| DropdownList with Items |
Hope this tutorial will helpful for you lets try yourself.


No comments:
Post a Comment